Puff is one delicious snack which I love a lot. Didn't know it was this easy to make at home. Wanted to try this for a long time and yeah, got a chance last weekend to prepare this. Once the filling is ready, its very easy to prepare. Hubby was asking for more and more.. :) Got some tips for this recipe from Ramya, my dear friend. Hop over to her photography blog to find some interesting photographs captured by her.
For the Filling:
Medium potato - 2 (wash, peel, boil and mash)
Scrambled Paneer - 1/2 cup
Peas and carrot - 1/2 cup(i used frozen)
Green bell peper - chopped - 1/4 cup
Oil - 1 tsp
Cumin seeds - 2 tsp

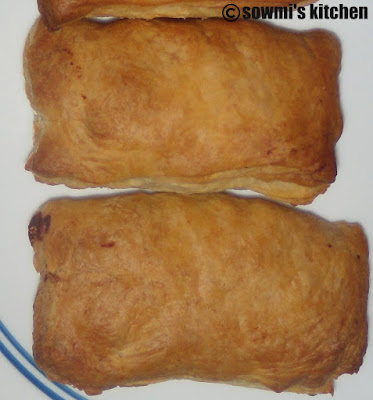
Puffs are ready to be served with tomato ketchup.. Enjoy.

Ingredients:
Puff Pastry sheet - as needed ( I took one) For the Filling:
Medium potato - 2 (wash, peel, boil and mash)
Scrambled Paneer - 1/2 cup
Peas and carrot - 1/2 cup(i used frozen)
Green bell peper - chopped - 1/4 cup
Dry powders:
Fennel powder - 1 tsp
Chilly powder - 1/2 tsp
Chaat Masala =- 1/2 tsp
Mango powder - 1/2 tsp
Turmeric - 1/4 tsp
Corainder powder - 1/2 tsp
Salt - as needed
Oil - 1 tsp
Cumin seeds - 2 tsp
Preparation:

- Thaw the pastry sheets according to the instructions given. I thawed for 40 mins. I used Pepperidge brand.
- Meanwhile heat a pan, add oil, once hot add cumin seeds, carrot and peas, bell pepper, salt
- Fry this well until they are tender.
- Add all the dry powders, mix well, add mashed potatoes, paneer, mix well until raw smell of masala goes off.
- Add some coriander leaves if you like.
- Keep this aside to cool off before using it..
- Preheat the oven to 400F.
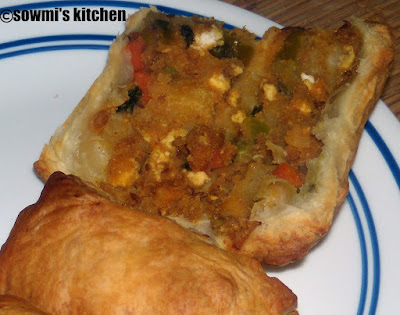
- One the sheets are dry, cut them into desired shape squares/rectangles. Take one portion, place 2 tsp of filling inside, apply some water in the ends, close one end of the square with another tightly like a puff shape. Ensure filling doesn't come out.
- Do this for remaining portions.
- Place them in a tray and bake for 25 mins.

Puffs are ready to be served with tomato ketchup.. Enjoy.


